Task2 – Functions
📝 Task 2
In TinkerCAD, use functions to make programming the servos easier.
Brief
In this task, we’ll be using a very powerful programming concept - functions!
As you’ve noticed, everytime you want to set an angle, you need to have
- one line of code for the angle,
- one line for the delay
myServo1.write(90);
delay(500);
Not the worst, but with more moves, it gets unwieldy to type that many!
Objectives
- Learn how to functions work
- Learn best practices of when to use functions
Equipment
- TinkerCAD account
- x1 Arduino Uno (virtual)
- x1 Servo (9g or similar)
Step 1 – Set Up the Circuit
Continue from your TinkerCAD design in Task 1.
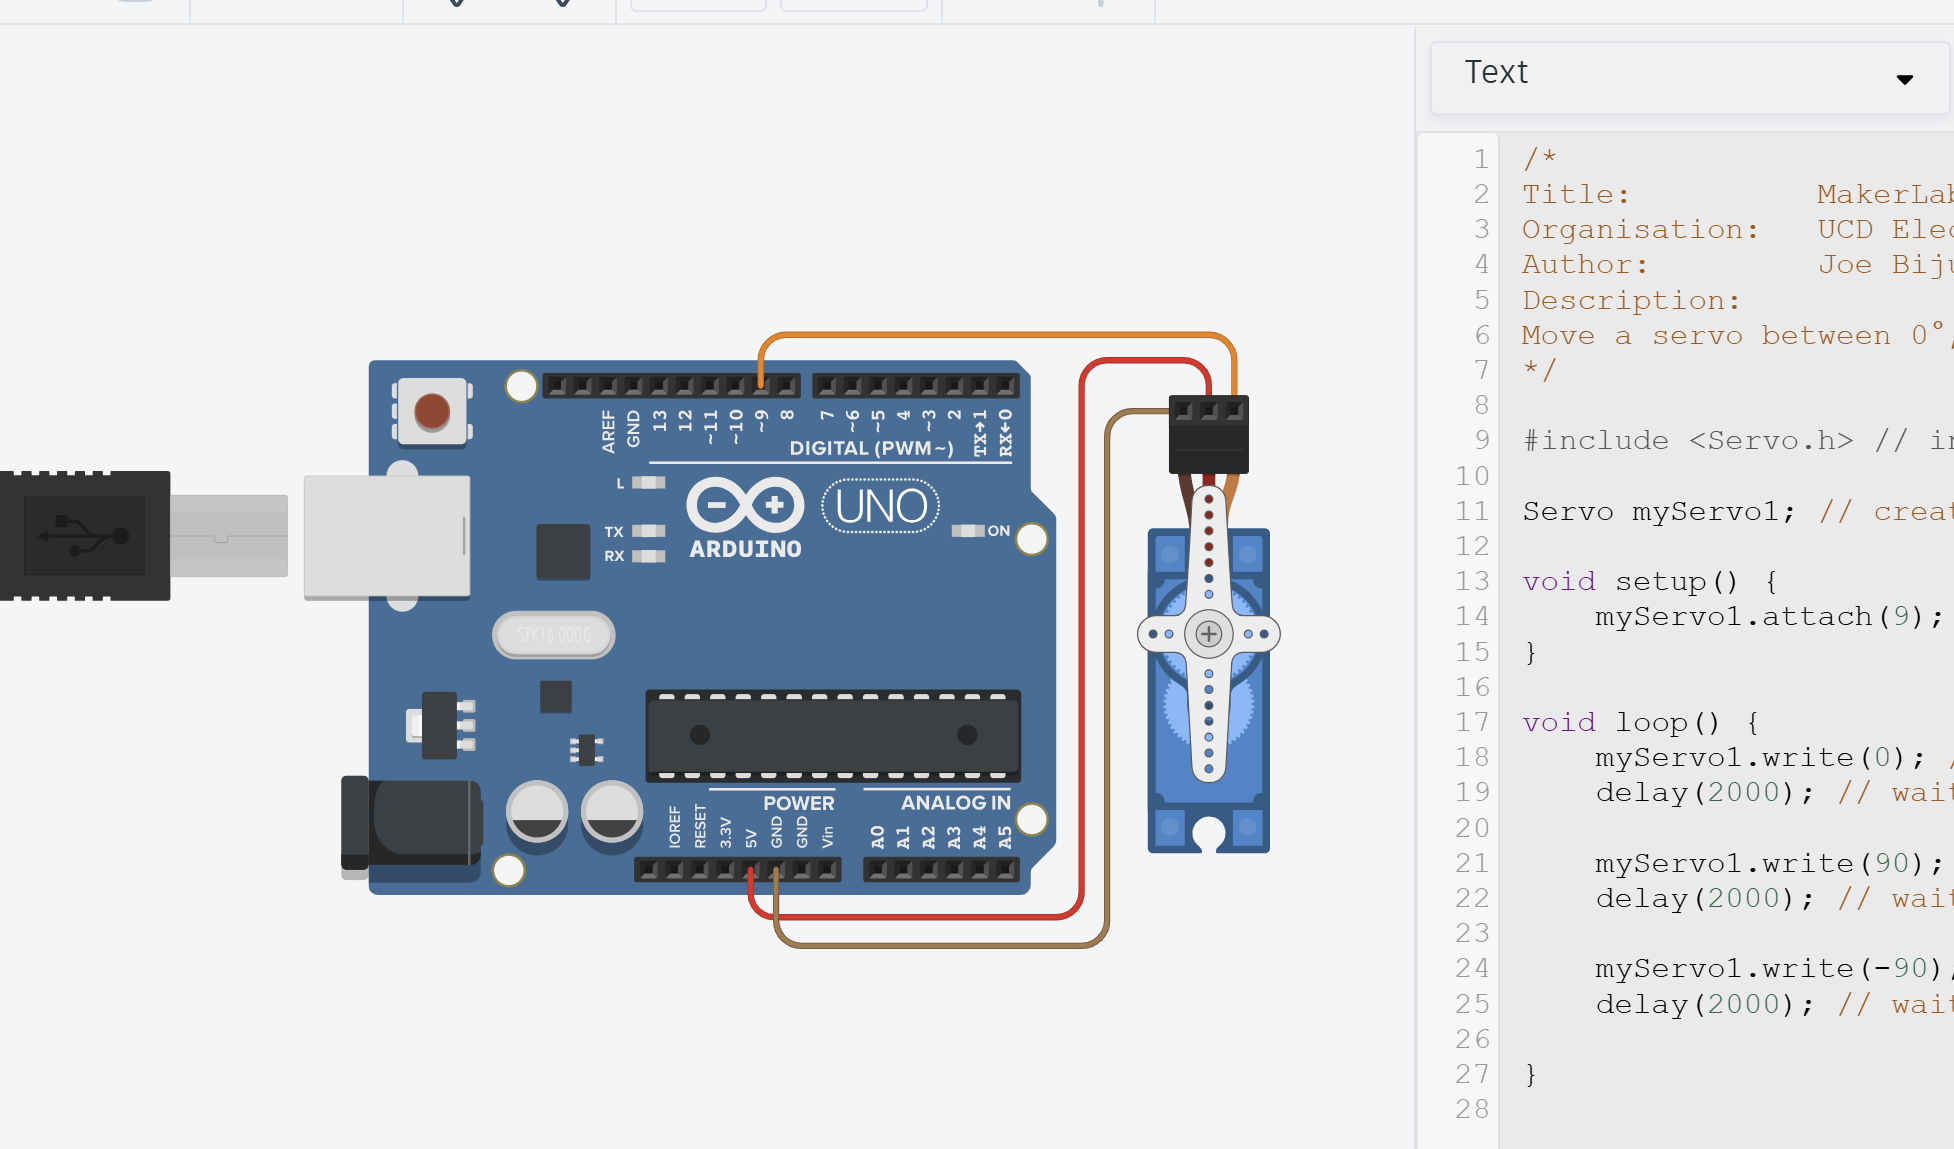
Step 2 – Write the Program
Function
I’m going to actually start with the code for the function before showing the entire sketch.
/*
    Function that takes in servo angle and delay and moves servo to target
*/
void setServoAngle(int targetAngle, int delayTime = 2000) {
    myServo1.write(targetAngle);
    delay(delayTime);

    return; //End function
}
Now, what does this mean?
Firstly, let’s look at the arguments (what’s inside the ( ) brackets).
We can see the function expects two integers. One for the angle, int targetAngle, for the delay, int delayTime.
If you’re unsure about int and other variable types, see Intro to C++ variable types.
Note also that delayTime has a default value of 2000. This is useful if most of the time we want to wait 2000ms, but sometimes we want to override. We’ll see that later on.
Next, look at the function type: void setServoAngle(). Notice that this function, after being called, will return nothing as an answer, as seen in the line return;. This is more relevant when the main code uses the result of the function for some other operation. We will not be covering it in this lab.
More of a fact but…
When naming a variable, function, or anything else, always follow the standard convention that the first word is un-capatilised, and the rest are.
For example, if I had a potentiometer to changing the pitch of a drum, specifically a kick drum, I’d store the value as
int kickDrumPotVal; //Variable to store current value of potentiometer for kick drumNotice I’ve added a comment with a description too. Good IDEs will allow you to later hover over that variable in your code and a pop-up will appear with your comments on that variable.
Full Program
Copy the following code into your TinkerCAD program.
/*
Title:          MakerLab2-Task2-Functions
Organisation:   UCD ElecSoc – MakerLab
Author:         Joe Biju
Description:
Add functions to simplify program.
*/

#include <Servo.h> // include the servo library

Servo myServo1; // create a servo object

/*
    Function that takes in servo angle and delay and moves servo to target
*/
void setServoAngle(int targetAngle, int delayTime = 2000) {
    myServo1.write(targetAngle);
    delay(delayTime);
    return; //End function
}

void setup() {
    myServo1.attach(9, 500, 2500);  //Link the servo signal to pin 9
}

void loop() {
    setServoAngle(0);               //Angle 0 degrees
    setServoAngle(90);              //Angle 90 degrees
    setServoAngle(180, 5000);       //Angle 180 degrees, override default delay to 5000ms

}
Tada!
Our loop() function is now much more simpler, and more legible.
Functions are declared outside and above of
setup()andloop(). Otherwise, the compiler will get confused.(You could use function prototypes to get around this, but it’s completely unnecessary and will not be covered in the labs)
- Make sure your function is defined above the
setup()andloop().- Make sure all variable and function names are consistent.
Step 3 - Run
Copy the code and run it on the same design as Task 1.
You should get the same behaviour.
Step 4 – Modify and Explore
Try some quick changes such as altering the delay or angles like in Task 1 to convince yourself the code still functions the same.
Functions are simply reusuable blocks of code.
- When a function is called, they take in multiple values (known as arguments).
- They then run whatever code is inside it until complete.
- Finally, the result is returned